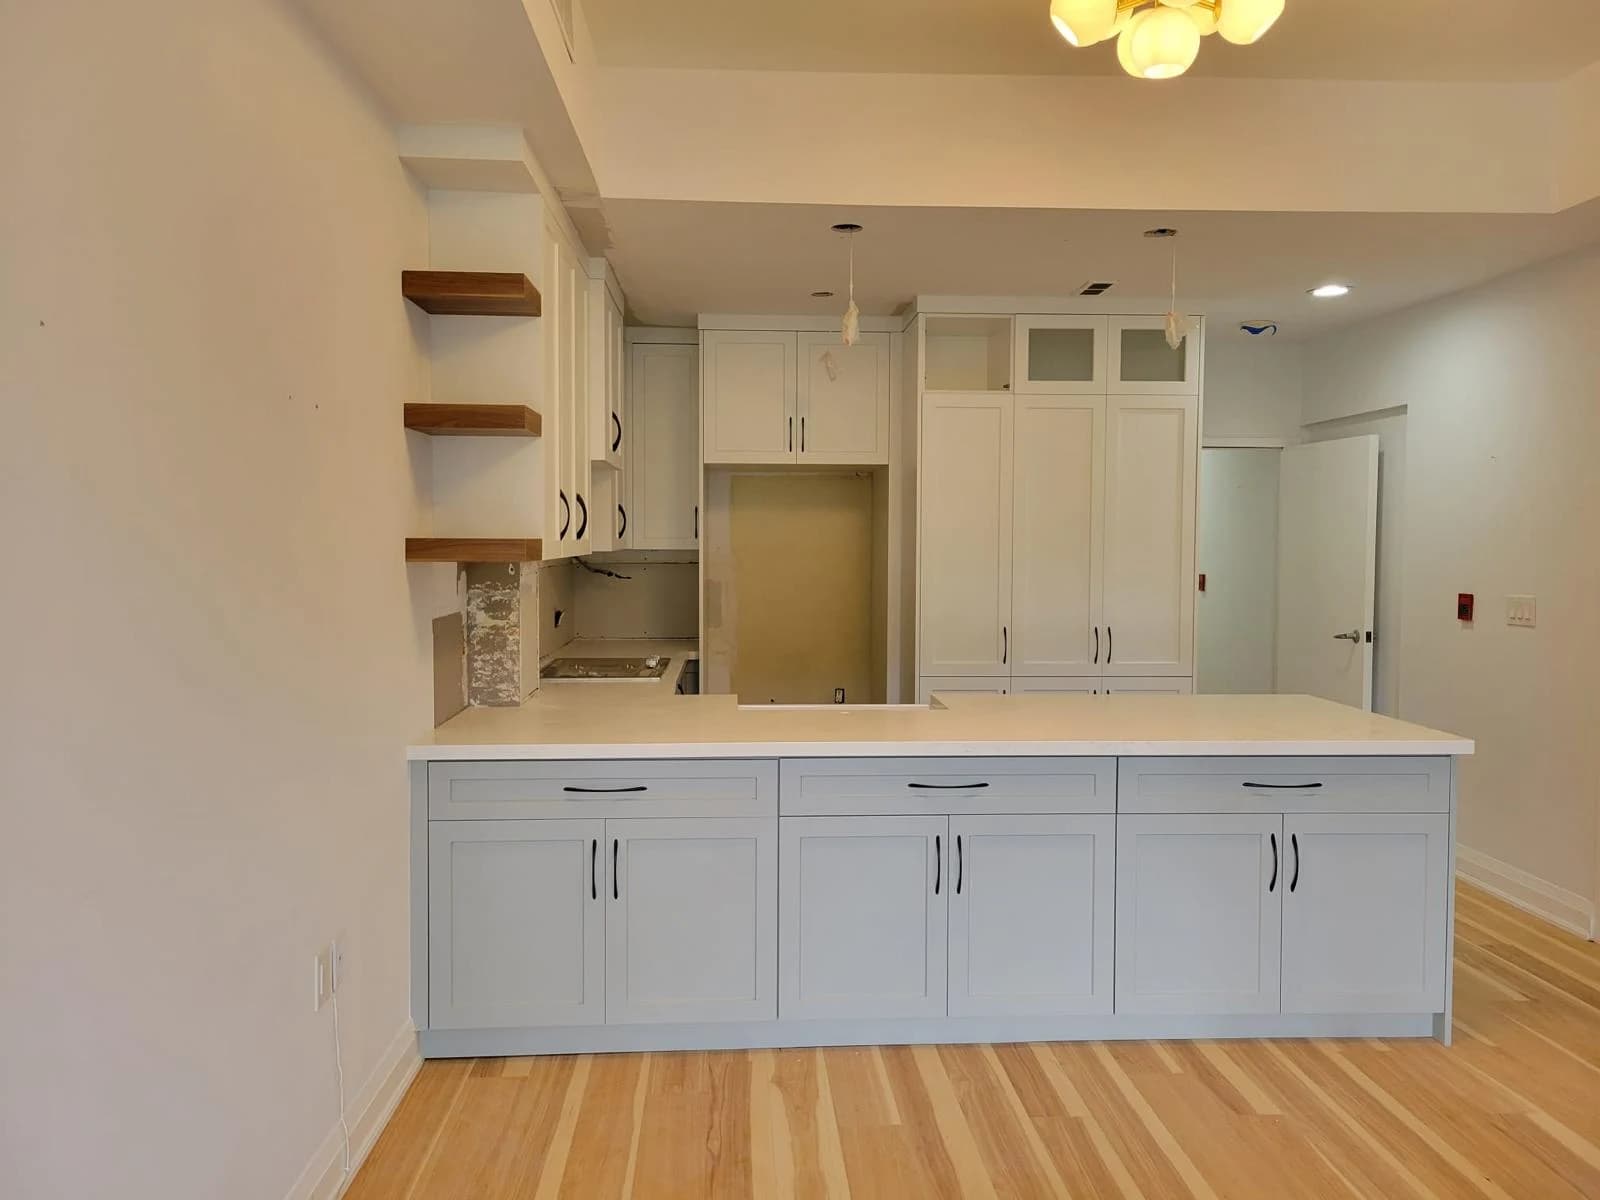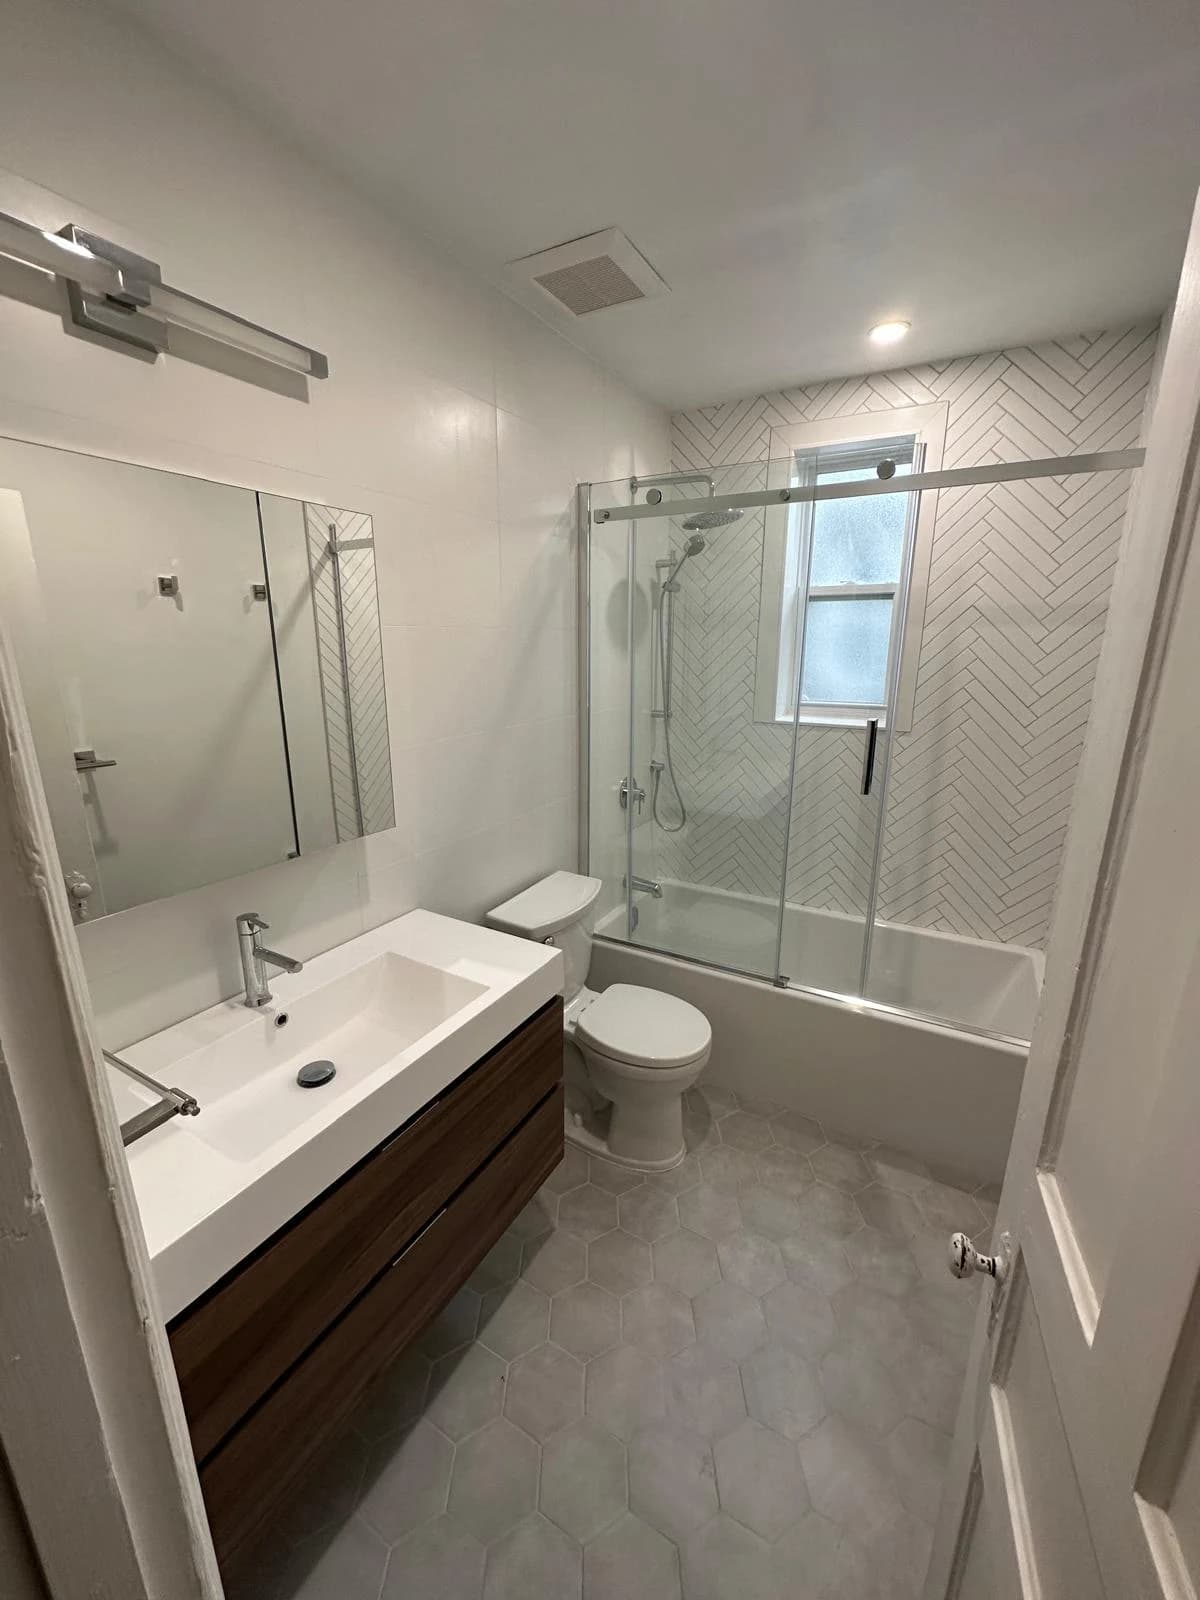
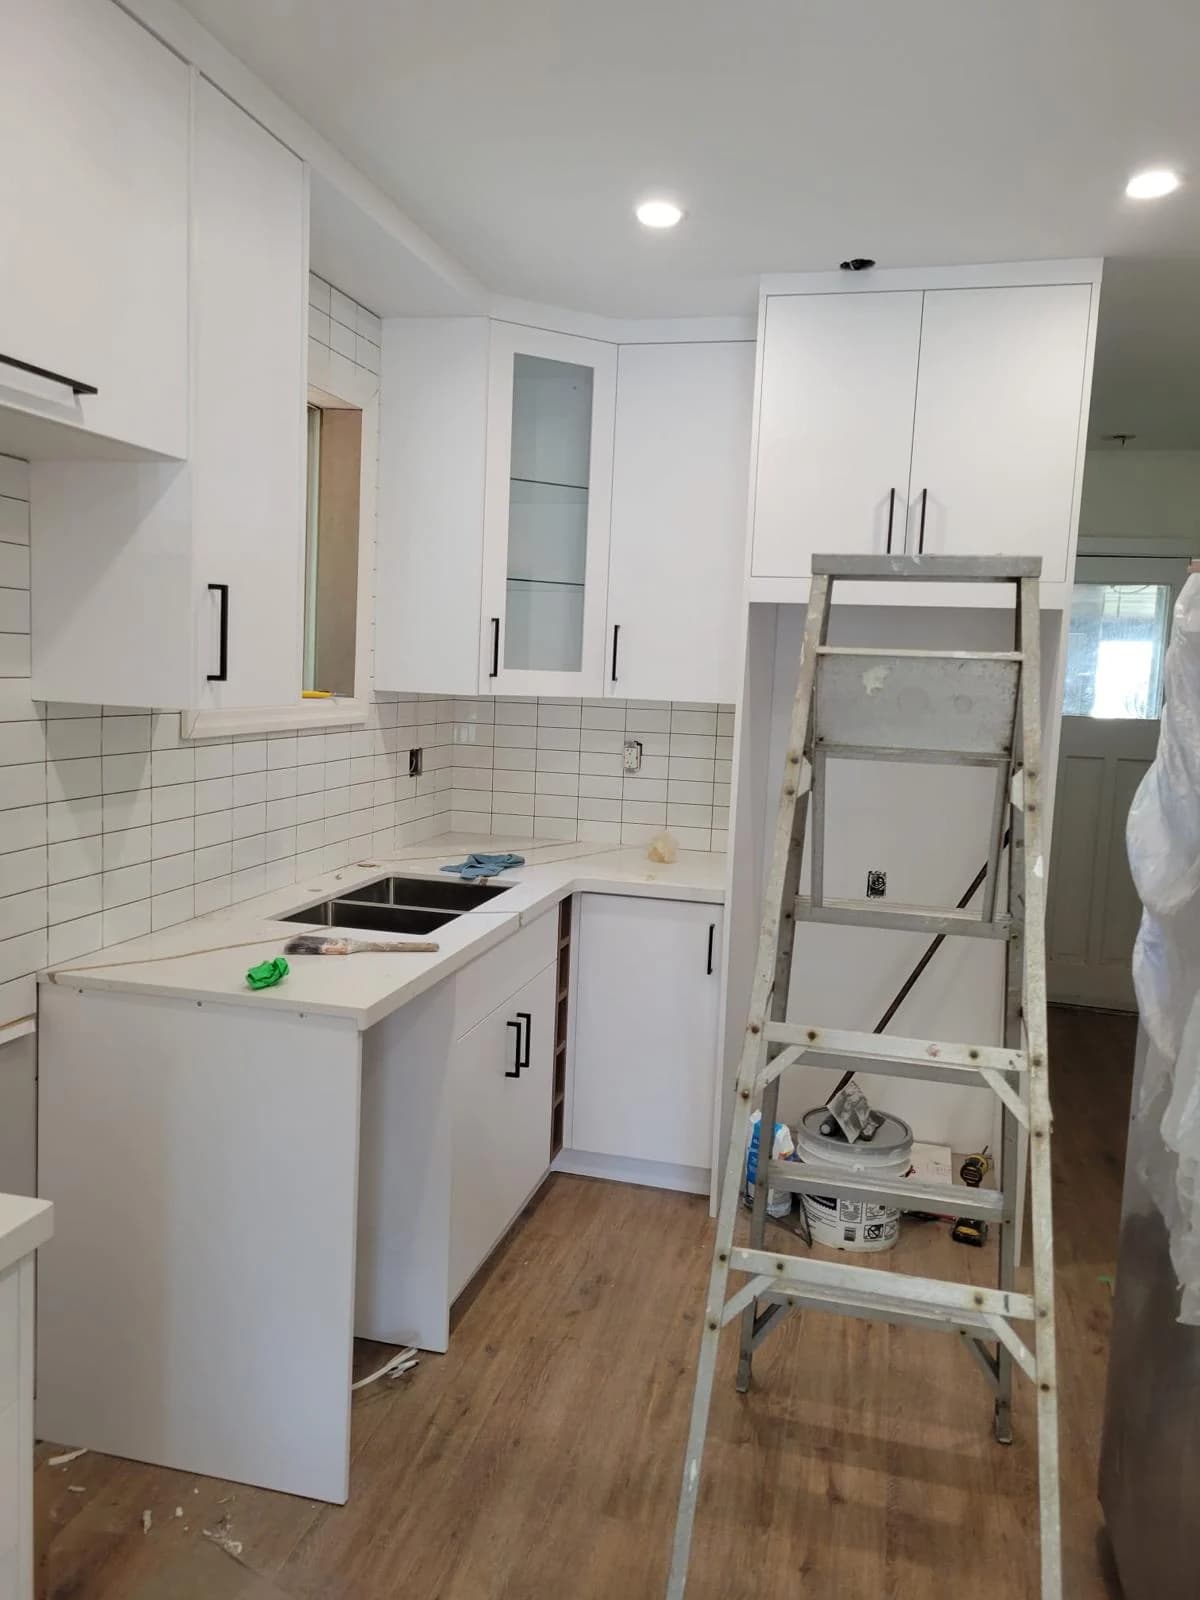
A folder full of close-up photographs can still leave a property manager wondering where a defect is. Useful project photos need context: the unit, room, item and stage of work. A consistent photo record helps the person reviewing the job now and the person returning to it later.
Pair a wider view with each important detail, label the location and stage, and connect photos to the written scope. Keep residents’ personal information out of the record.
Create a repeatable route through the unit
Start at the entry and move through rooms in the same order for the initial visit and final walkthrough. Capture a wider view before the detailed photographs. The wide image helps locate an issue, while the close-up shows the particular surface or component being discussed.
Record the property and unit in the job folder, then label each set with the room and date. For example, ‘kitchen, sink-base panel, before repair’ is more useful than ‘damage 4’. Keep a simple naming pattern that the office and field team can both follow.
Document what the image actually shows
Use photographs to support a clear observation rather than an unverified diagnosis. A stain can be photographed, but the image alone does not establish its cause or prove that the underlying problem has been resolved. Add a note when investigation is still needed.
Where size matters, use an appropriate scale and a written measurement instead of expecting a reviewer to estimate from the photo. Avoid misleading crops. Keep an unedited original when an annotated copy is used to highlight the work area or explain a proposed change.
Connect progress pictures to decisions
Take progress photographs at useful decision points, especially when they explain a change or show an area before it is covered. Reference the relevant scope item, approved change or inspection record. Photos complement those records; they do not replace required checks or professional assessments.
Send a short selection with a clear explanation when asking for a decision. Identify what needs approval and what happens next. A large unlabelled batch can make it harder for a manager to find the one detail that affects the schedule.
- Before: existing condition and exact work location.
- During: the relevant stage, finding or approved change.
- After: the same view where possible, with the completed scope identified.
- Outstanding: remaining item, person responsible and agreed next step.
Keep a useful record without collecting unnecessary detail
Check the frame for residents, personal documents, mail, screens and other belongings that are not needed to explain the work. Follow the owner’s or manager’s access and photography arrangements. Store job photos with appropriate access rather than posting them publicly by default.
At close-out, organize the final selection beside the accepted scope and outstanding-item list. Separate internal records from photographs approved for marketing. A clear completion photo helps document appearance at that time; it is not proof of payment or a guarantee about concealed conditions.
Your planning checklist
- Use a consistent route and room labels.
- Pair wide views with relevant close-ups.
- Record dates, stages and scope references.
- Keep personal information out of photographs.
- File final views with the completion record.